

Now Reading: A Complete Guide on How to Install Floorboards and How to Remove Old Wood Flooring
-
01
A Complete Guide on How to Install Floorboards and How to Remove Old Wood Flooring
A Complete Guide on How to Install Floorboards and How to Remove Old Wood Flooring
When it comes to home renovation, few projects transform a space as dramatically as updating your flooring. Whether you are replacing outdated boards or starting fresh with a new surface, understanding both how to remove old wood flooring and how to install floorboards is essential. These two processes go hand in hand, because a successful installation always begins with proper removal and preparation of the subfloor. In this guide, we will walk through both stages in detail so you can confidently handle your flooring project from start to finish.
Before diving into the practical steps, it is important to understand why preparation matters so much. Old wood flooring can hide damage such as moisture issues, uneven surfaces, or loose subflooring. If you rush into installing new boards without properly removing the old material, you may end up with squeaky floors, uneven finishes, or long-term structural problems. That is why learning how to remove old wood flooring correctly is just as important as learning how to install floorboards.
To begin the removal process, the first step is to prepare the room. Clear all furniture and ensure the space is completely empty. You should also remove baseboards carefully using a pry bar so they can be reused later if still in good condition. Once the space is ready, start identifying the type of old flooring you are dealing with. Some floors are nailed down, others are glued, and some may be floating floors that simply click together. Each type requires a slightly different approach when learning how to remove old wood flooring.
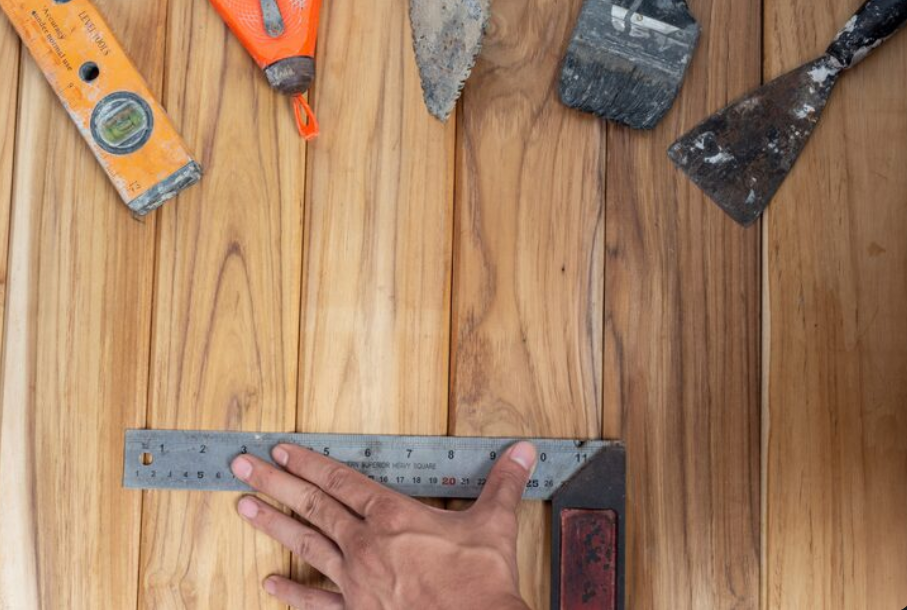
For nailed-down hardwood, a pry bar and hammer are your best tools. Start at one corner of the room and gently lift each board. Work slowly to avoid damaging the subfloor underneath. If the boards are stubborn, using a reciprocating saw to cut through nails can make the job easier. For glued flooring, you may need a floor scraper or heat gun to loosen the adhesive before lifting the planks. The key is patience, as rushing can damage the foundation beneath the flooring.
Once the flooring is removed, you will likely find nails, staples, or adhesive residue left behind. Cleaning the subfloor thoroughly is crucial before moving on to installation. Sweep and vacuum the entire area, then check for uneven spots or damage. Sanding down high areas and filling low spots will create a smooth base, which is essential for anyone learning how to install floorboards properly.
Now that the old material has been removed and the surface is clean, you can begin focusing on installation. Understanding how to install floorboards starts with choosing the right type of flooring. Solid hardwood, engineered wood, and laminate all have slightly different installation methods, but the basic principles remain the same. You need a clean, level, and dry subfloor before anything else.
Start by laying an underlayment if required. This layer helps with moisture protection, sound reduction, and overall stability. Once the underlayment is in place, you can begin positioning your first row of floorboards. It is important to start along the longest straight wall in the room. Place spacers between the boards and the wall to allow for natural expansion of the wood. This small detail is often overlooked but is essential when learning how to install floorboards correctly.
As you lay each board, make sure the joints are tightly fitted. Depending on the type of flooring, you may need to nail, glue, or click the boards into place. For traditional hardwood, a nail gun is commonly used to secure each plank. For engineered or laminate flooring, a click-lock system makes installation easier and faster. Continue working row by row, making sure the seams are staggered for a natural and stable look.
Cutting boards will be necessary as you reach the edges of the room. A saw will help you achieve precise measurements so the flooring fits perfectly along walls and corners. Take your time with this step, as accurate cuts make a significant difference in the final appearance. When finishing the installation, remove the spacers and reinstall baseboards to cover the expansion gaps.
Throughout the process, it is helpful to remember that both how to remove old wood flooring and how to install floorboards require patience and attention to detail. Rushing either stage can lead to uneven surfaces or costly repairs later. Proper preparation, careful removal, and precise installation all work together to create a professional-looking result.
Maintenance after installation is also important. Once your new floorboards are installed, avoid heavy furniture movement for at least 24 to 48 hours if adhesives were used. Regular cleaning with appropriate wood-safe products will help preserve the finish and extend the life of your flooring. Temperature and humidity control also play a role in maintaining stability, as wood naturally expands and contracts over time.
For homeowners taking on a DIY renovation, mastering both how to remove old wood flooring and how to install floorboards can save a significant amount of money and provide a rewarding sense of accomplishment. While the process may seem labor-intensive, breaking it into clear steps makes it manageable even for beginners. With the right tools, preparation, and patience, you can completely transform the look and feel of your home.
In conclusion, flooring replacement is not just about laying down new boards; it begins with careful removal and preparation. By learning how to remove old wood flooring properly, you ensure a strong foundation for your new surface. Then, by understanding how to install floorboards with precision, you create a durable and visually appealing finish. Together, these skills allow you to achieve professional-quality results and enhance the value and comfort of your living space.
Related Posts


Stay Informed With the Latest & Most Important News


-
 01Telugu Maitri |తెలుగు మైత్రి Best News-Blog telugumaitri.com
 -
 02Google gemini prompts | ఈ జెమినీ ప్రాంప్ట్స్ ట్రయ్ చేయండి
 -
 03Bigg Boss Telugu 9 Day 61 Promo |ఇంట్లో “War for Power”
 -
 04Today Top 10 OTT Movies List: ఈ 10 సినిమాలు మిస్ చేయొద్దు!
 -
 05Telugu Maitri (telugumaitri.com) Telugu Maitri News website post Full List
 -
 06Self Driving auto | డ్రైవర్ లేని ఆటోనా.. నిజమేనా..! అదీ మేడిన్ ఇండియా.. ఎక్కి కూర్చుంటే అదే తీసుకెళ్తుంది.. – Telugu News Today
 -
 07Laptop Charging While Using is a common, Top 10 tips, myths!